Teacher Developed Setting
Students use professional-level software (Photoshop) to complete a design project for a “client.”
Products
Students produce an 8 ½ x 11 poster to meet the needs of their “client.”
Connections
Foundations
Activities
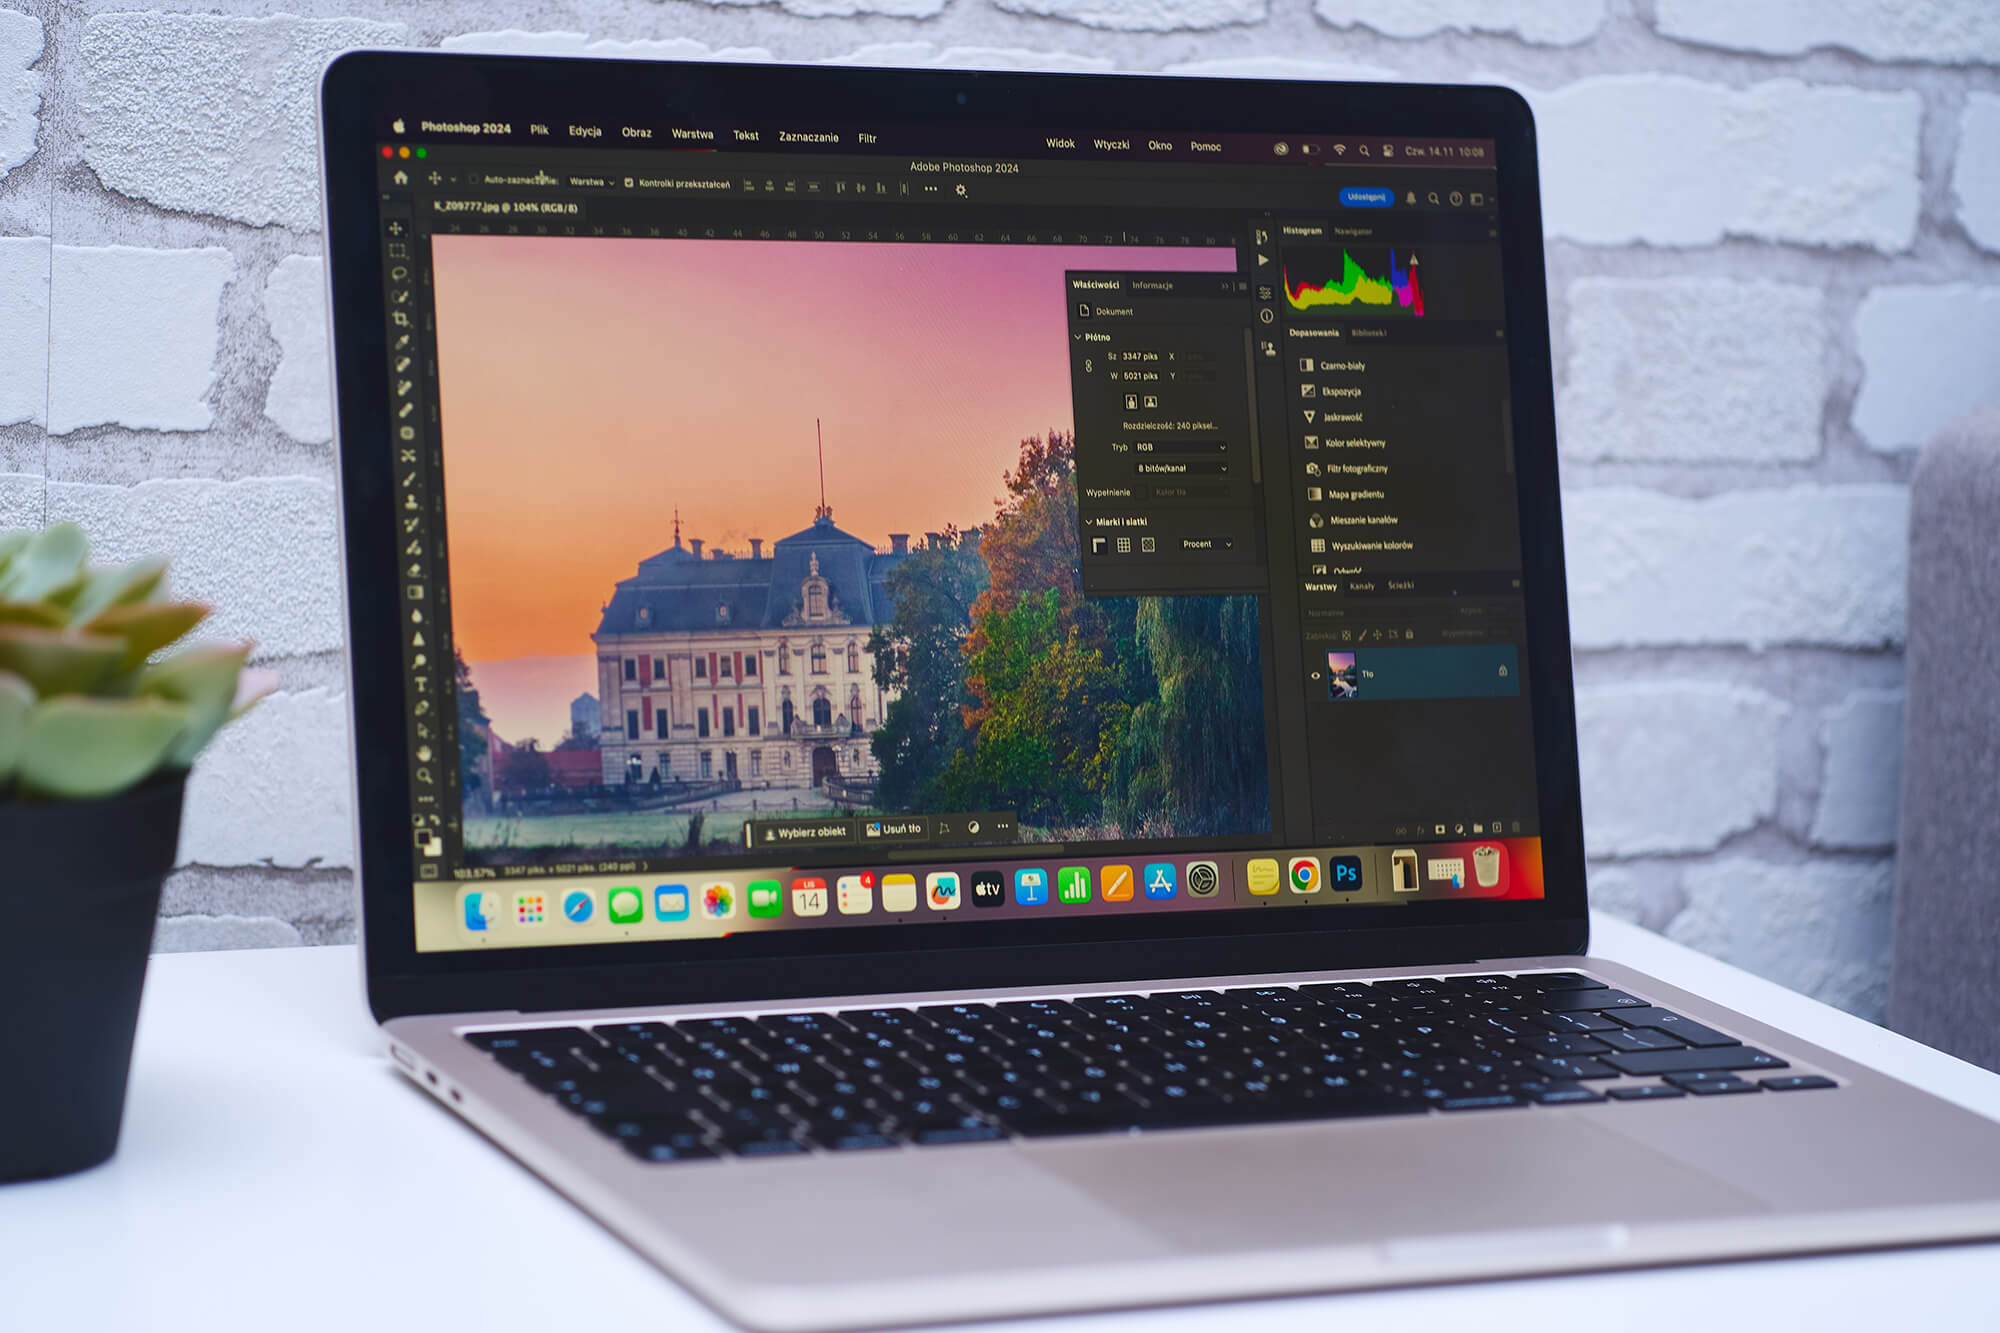
Activity 1 (Day 1): Photo Editing
Formative Assessments
- Edited Photo
Materials
- computers or laptops
- Adobe Photoshop
- Photo Editing Activity
Instructional Procedures
- Introduce the students to the Photoshop workspace and familiarize them with the tools, settings, and menus.
- Provide each student with the Photo Editing Activity and access to a computer with Adobe Photoshop.
- Explain to the students that they will follow the instructions on the Photo Editing Activity to edit a photo (crop, resize and rotate, change colors, and apply filters) while learning about the Photoshop workspace.
- Allow time for students to complete the photo editing instructions.
Comments (2)
I’m interested in teaching this lesson. On Day 2 when students are choosing their design style and color scheme to match that, do you give them any kind of resources or instructions about what colors would be a good fit for certain styles? (Example: Soft = __________colors).
Hi David,
Yes, on the “client research form” in the section “design style”, I take some time to explain how the “personality” of the project should be consistent throughout the design, from font choice, to color scheme, to image selection. So for example, I’ll say, “if you’re doing a “country western singer for the concert venue, you might use rustic, wood backgrounds with a bold font and more “earthy colors & textures like brown, denim, etc.
And then I explain how a design might look different if they’re creating a Hard Rock band concert poster. So I try to give them examples of how color and font choice matter based on the “theme or personality” of the project. I also have posters hanging up in my classroom that I use to point out various design elements. I don’t go much deeper than that, but they should know that pink fluffy unicorns don’t belong on screamo concert posters..LOL I have them circle the “theme” from the list of adjectives they think they’re poster will fit into, so it kind of gets them thinking about it. I don’t have any other resources or sites about design principles (but I imagine that there are some out there that could be helpful.) I have just found that 12 year olds don’t have a super sophisticated design mind at their age and with my time restrictions on these projects, I just try to cover the basics.
Hope this helps! Good luck – it’s a super fun project. Kids love it! We just got done with ours this week! It’s fun to see what they create!